Is It Bad to Mow Your Lawn in the Heat?
Blog Overview:
Mowing your lawn in the heat can stress the grass, cause brown patches, and even damage your mower. It’s best to mow during cooler hours — early morning or late afternoon — for a cleaner, healthier result.
Blog Discussion Points:
- Why heat stresses your lawn during mowing
- Best mowing times for New Zealand’s summer
- Ideal mowing height to prevent lawn burn
- Safety tips for mowing in hot weather
- How to recover a heat-stressed lawn
Is It Bad to Mow Your Lawn in the Heat?
Mowing your lawn in the middle of a hot day might seem efficient, but it can actually do more harm than good. Both your grass and your mower — not to mention you — can suffer under extreme temperatures.
Whether you’re trying to stay on top of your mowing schedule or just want your lawn to look tidy before guests arrive, it’s important to know how heat affects your grass. Here’s why you should think twice before you mow your lawn in the heat, and when it’s best to do it instead.
1. Heat Causes Grass Stress
Grass, like any plant, goes through stress when exposed to high temperatures. During the hottest hours of the day, the grass blades lose moisture quickly and struggle to recover from being cut.
Why this matters
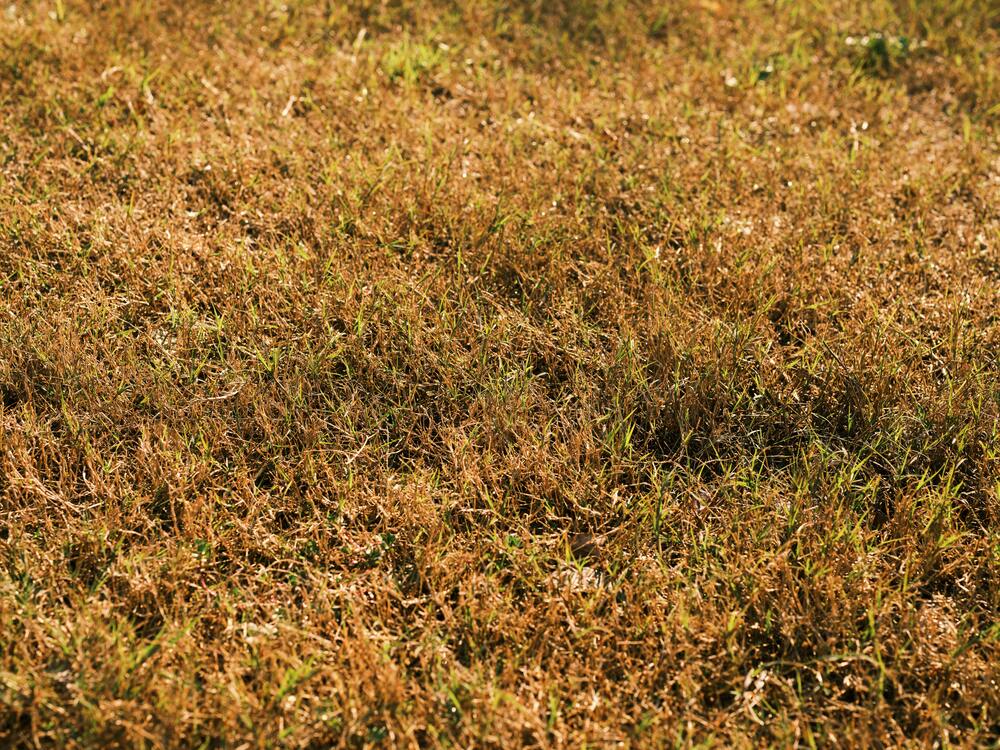
When you mow your lawn in the heat, the freshly cut tips dry out faster and turn brown, leaving your lawn looking scorched. In extreme heat, this can even stunt new growth and weaken the root system.
Tip: Aim to mow early in the morning or late in the afternoon when temperatures are cooler and the grass has more moisture.
2. Mowing Short in Hot Weather Makes It Worse
Cutting your lawn too short during hot weather is one of the biggest mistakes homeowners make. Short grass exposes the soil and roots to direct sunlight, causing the lawn to dry out even faster.
The right mowing height
- For most Kiwi lawns, the ideal mowing height is between 3–5 cm.
- During summer, it’s better to stay on the higher side.
- Taller grass provides natural shade for the soil, helping it retain moisture and stay green even under strong sunlight.
3. Heat Can Damage the Lawn’s Root System
When you mow your lawn in the heat, the combination of blade stress and soil warmth can damage roots. Hot soil temperatures slow down root growth and reduce the lawn’s ability to absorb water and nutrients.
How to protect your roots
- Keep your lawn well-hydrated, but don’t overwater.
- Deep watering a few times a week encourages roots to grow deeper, helping them withstand heat and dry spells.
- A healthy root system is the key to surviving summer.
4. Freshly Cut Grass Loses Moisture Fast
Grass blades contain water that helps regulate the plant’s temperature. Mowing during a hot, dry day removes the upper layer that provides shade and moisture, leaving the lawn more vulnerable to dehydration.
Quick fix
If you must mow on a warm day, water the lawn early in the morning so the soil has time to absorb moisture before you cut. Avoid watering right after mowing — it can cause fungal problems.
5. Your Mower Works Harder in Hot Weather

The heat doesn’t just stress the grass — it can strain your mower, too. When grass is dry or brittle, the mower blades dull faster, and the engine may overheat if used under direct sunlight for long periods.
Maintenance tip
- Keep your mower in good shape by cleaning the blades regularly and checking the oil before each use.
- If possible, store your mower in a shaded or covered area to prevent heat damage.
6. Safety Risks for You
Mowing in the heat can be physically dangerous. The combination of direct sun, high humidity, and physical activity increases your risk of dehydration, dizziness, or even heat exhaustion.
Stay safe while mowing
- Wear light, breathable clothing and a hat.
- Drink water before, during, and after mowing.
- Take breaks in the shade.
- If you feel dizzy or faint, stop immediately and cool down.
Your safety always comes first — no perfect lawn is worth a health risk.
7. Heat Increases the Risk of Lawn Burn
Freshly cut grass is more sensitive to sunlight. When you mow your lawn in the heat, the exposed tips can “burn” under intense UV rays. The result? Brown streaks or patches that make the lawn look dry and uneven.
How to prevent lawn burn
Mow when the sun isn’t at its peak — before 10 a.m. or after 4 p.m. If possible, adjust your mowing schedule to cooler days of the week. You can also mulch lightly to protect the soil and retain moisture.
8. Fertilising and Mowing in Heat Don’t Mix
If you’ve recently fertilised your lawn, avoid mowing in the heat. Fertiliser increases the salt content in the soil, and mowing during hot weather can amplify the stress on the grass, leading to burns or discolouration.
The best practice
Wait at least 24–48 hours after fertilising before mowing, and choose cooler conditions for both tasks. Water the lawn well after fertilising to help nutrients absorb evenly.
9. Mowing Schedule Tips for New Zealand Summers
New Zealand summers can vary — dry and hot in some regions, humid and warm in others. Adapting your mowing routine to local conditions keeps your lawn healthy year-round.
Recommended mowing habits
- Mow every 7–10 days during summer, depending on growth rate.
- Never remove more than one-third of the grass blade at once.
- Alternate mowing patterns to prevent soil compaction and uneven growth.
- Keep your mower blades sharp for cleaner cuts.
Consistency and timing are more important than frequency when maintaining a healthy summer lawn.
10. What to Do If Your Lawn Turns Brown After Mowing in Heat
If your lawn already looks brown or stressed after mowing, don’t panic. The grass is likely in shock and can recover with proper care.
Recovery steps
- Water deeply and consistently for a week or two.
- Avoid mowing again until the grass grows at least 5–6 cm tall.
- Keep traffic off affected areas.
- Apply a slow-release fertiliser once temperatures cool down.
With a little patience and maintenance, your lawn will bounce back and regain its vibrant green colour.

Frequently Asked Questions
1. Can mowing in the heat kill the grass?
Not immediately, but repeated mowing during hot weather weakens the grass and can eventually lead to dead patches, especially if the soil is dry.
2. What time of day is best for mowing in summer?
Early morning (after the dew has dried) or late afternoon is best. Avoid the middle of the day when temperatures and UV levels peak.
3. Should I water before or after mowing in hot weather?
Watering before mowing is better, as it helps cool the soil and reduce stress. Wait until the blades are dry before cutting to avoid clumping.
4. How can I tell if my lawn is too stressed to mow?
If the grass feels brittle, looks dull, or doesn’t spring back when stepped on, it’s too dry and stressed to mow. Wait until it regains some moisture.
5. Is it okay to mow during a heatwave?
It’s best to postpone mowing during a heatwave. Focus on watering and shade protection until temperatures drop back to normal.
Final Thoughts
It’s tempting to keep your lawn neat no matter the weather, but mowing your lawn in the heat can cause lasting damage. Hot conditions stress your grass, dull your mower blades, and even pose safety risks. Timing your mowing sessions for cooler hours helps your lawn stay green, resilient, and healthy all summer long.
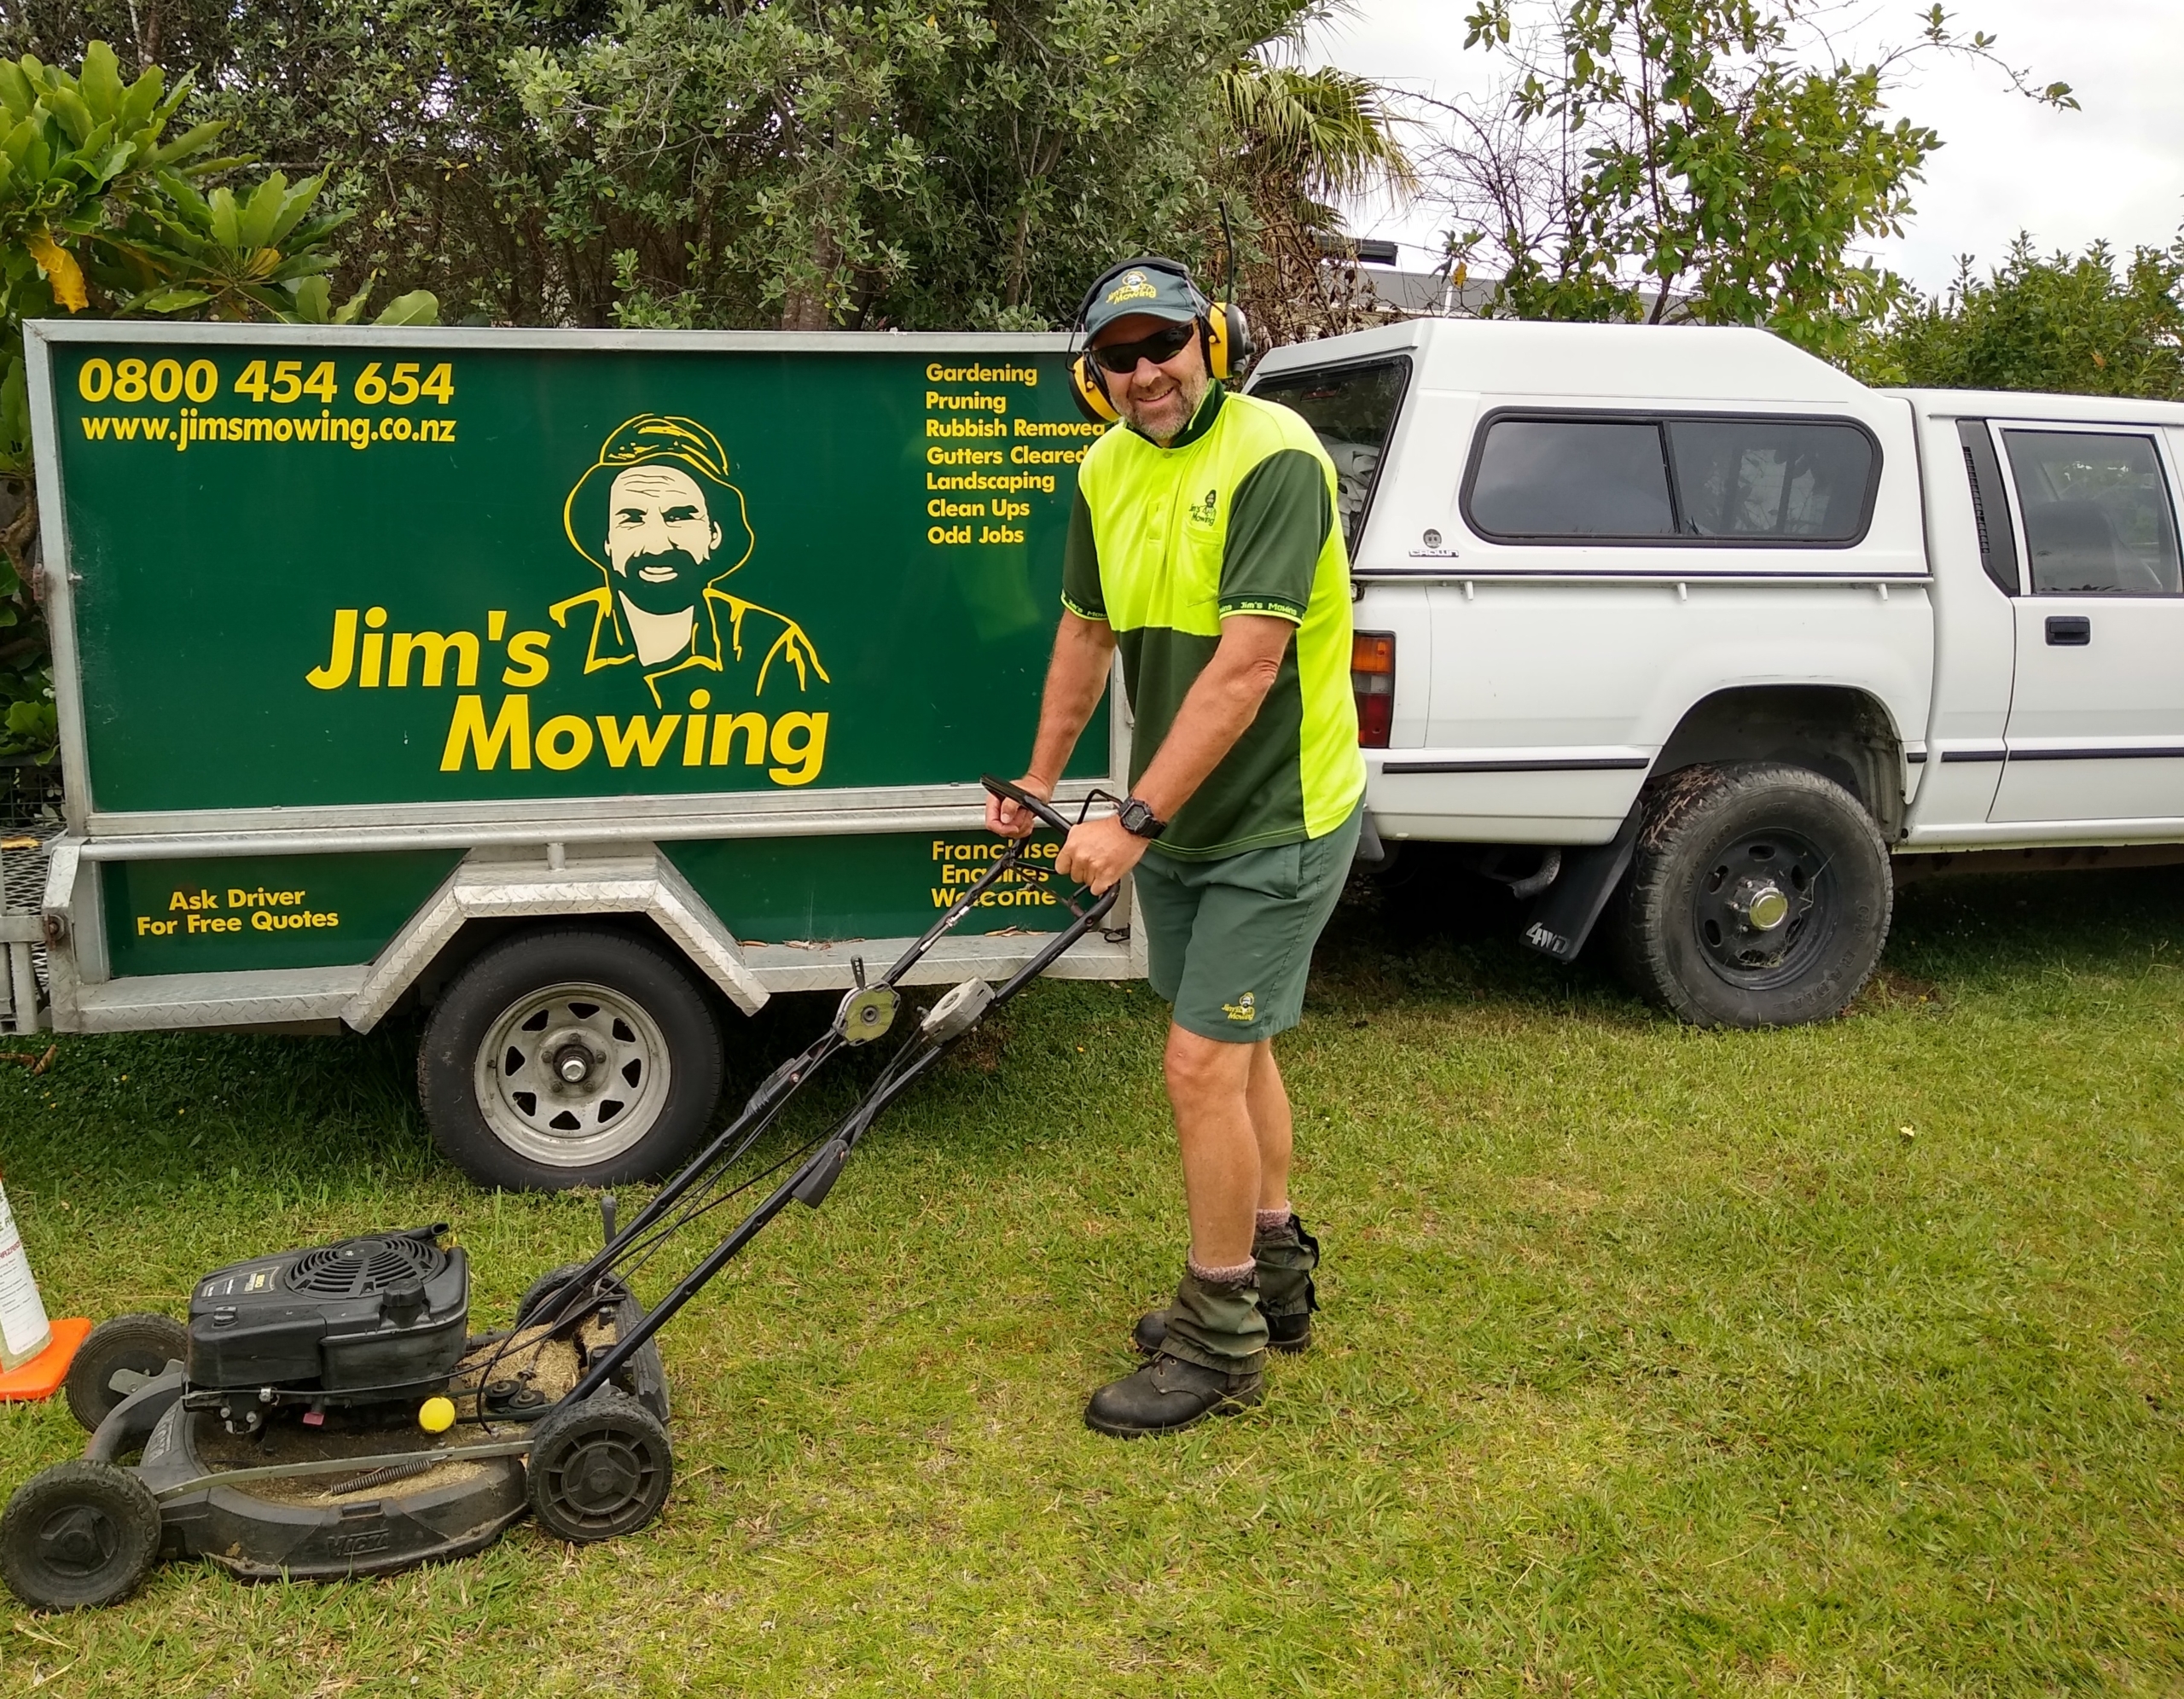
If you’d rather leave the hard work to the experts, Jim’s Mowing NZ has you covered. Our local lawn care professionals know the best mowing practices for New Zealand’s climate — keeping your lawn lush and healthy year-round.
Call Jim’s Mowing NZ at 0800 454 654 to book your mowing service today.