Why Is My Lawn Turning Brown After Mowing?
Blog Overview:
If your lawn turns brown after mowing, it’s usually due to mowing too short, dull blades, or stress from heat and dryness. This guide explains the common causes and how to restore your lawn’s healthy green colour.
Blog Discussion Points:
- Common reasons for a brown lawn after mowing
- Best mowing height and timing for NZ lawns
- How to fix lawn stress, dryness, and nutrient issues
- Identifying pests, diseases, and soil problems
- Expert tips for keeping your grass lush and green all year round
Why Is My Lawn Turning Brown After Mowing?
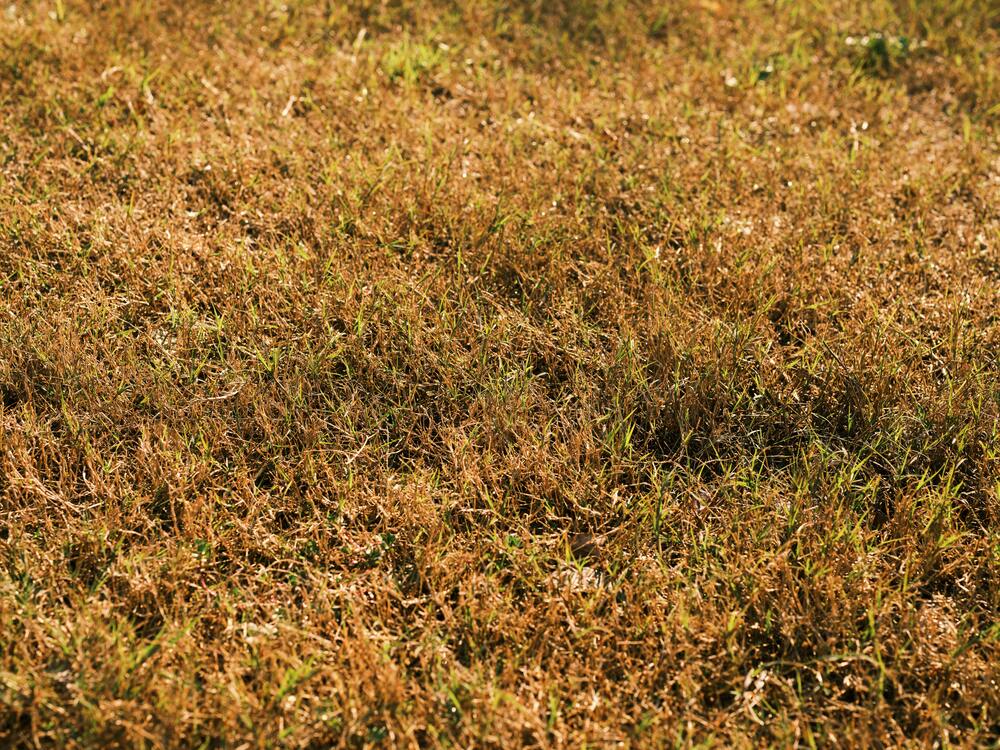
If your once-green lawn has suddenly turned brown after mowing, you’re not alone. Many Kiwi homeowners face this issue, especially during the warmer months.
A brown lawn after mowing can be caused by several factors — from mowing too short to dull mower blades or even hidden pest problems. Understanding what’s behind the discolouration can help you revive your lawn and keep it looking lush all year long.
10 Reasons a Lawn Turns Brown After Mowing
1. You’re Mowing Too Short
One of the most common causes of a brown lawn after mowing is cutting it too short. When grass is trimmed too close to the ground, it struggles to recover. This exposes the soil and roots to the harsh New Zealand sun, leading to dehydration and brown patches.
The ideal mowing height
Most NZ lawns consist of ryegrass, fescue, or kikuyu, which generally thrive when kept at around 3–5 cm tall. If you cut more than one-third of the grass blade at once, you risk shocking the plant and causing browning.
Tip: Gradually lower the mowing height over several cuts instead of all at once.
2. Dull Mower Blades Are Tearing the Grass
Sharp mower blades make clean cuts, while dull ones tear and shred grass blades. Torn grass dries out faster and develops brown, ragged edges, giving your lawn a scorched appearance.
What to do
Inspect your mower blades every few weeks during the mowing season. If the edges feel blunt or nicked, sharpen or replace them. Regular blade maintenance is a simple step that makes a huge difference in keeping your lawn healthy and green.
3. Mowing During the Hottest Part of the Day
The midday sun can be harsh on freshly cut grass. When you mow under intense sunlight or dry conditions, the exposed blades lose moisture quickly, resulting in a brown lawn after mowing.
Best time to mow

In New Zealand’s climate, it’s best to mow in the early morning or late afternoon, when temperatures are cooler and there’s more humidity in the air. This allows grass to recover without getting scorched.
4. Grass Clippings Are Smothering the Lawn
Leaving a thick layer of clippings on top of your lawn can suffocate the grass underneath. While a light mulch of fine clippings helps retain moisture and return nutrients, too much buildup blocks sunlight and airflow.
How to fix it
If you notice clumps of clippings after mowing, rake them up or use a mower with a mulching attachment that finely chops the grass. Always mow when the grass is dry — wet clippings clump more easily and cause more harm.
5. The Lawn Is Too Dry
New Zealand summers can be unpredictable — long dry spells can quickly dehydrate your lawn, especially after mowing. Grass needs consistent moisture to recover from cutting. When it doesn’t get enough, the tips dry out and turn brown.
Watering tips
- Water deeply, around 2–3 times a week, rather than shallow daily watering.
- Early morning is best for watering, allowing moisture to soak in before the sun evaporates it.
- Avoid watering at night, as this can promote fungal growth.
If your region is experiencing water restrictions, consider switching to drought-resistant grass varieties or using collected rainwater for irrigation.
6. Lawn Disease or Fungal Problems
Sometimes, a brown lawn after mowing isn’t just from mowing practices — it could be a sign of lawn disease. Fungal infections like brown patch, dollar spot, or rust often flare up after stress events such as mowing, heat, or humidity.
How to identify it
Look for irregular brown or yellow patches, white fungal growth, or slimy grass blades. If you suspect disease, reduce watering, avoid mowing wet grass, and aerate the lawn to improve airflow. You may also need a fungicide treatment if the infection is severe.
7. Pests and Insects
Certain lawn pests, such as grass grubs and porina caterpillars, are common in New Zealand lawns. These insects feed on grass roots and stems, causing it to brown and die off after mowing.
How to tell
If you can easily pull up sections of your lawn or notice birds digging around for insects, pests may be the culprit.
Treatment: Apply a suitable insecticide or contact a professional lawn care expert for diagnosis and treatment.
8. Nutrient Deficiency
A lawn lacking in essential nutrients — especially nitrogen — can appear brown or yellowish after mowing. Mowing removes some of the grass’s stored nutrients, so if your soil is already depleted, the problem becomes more visible right after cutting.
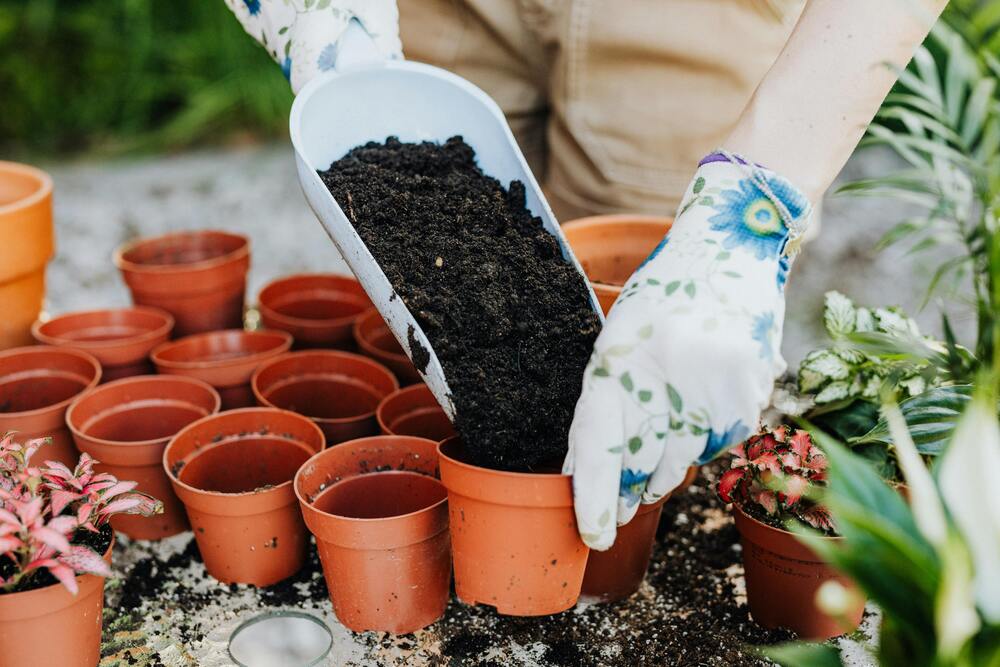
What to do
Apply a balanced slow-release lawn fertiliser in early spring and again in late summer. This helps replenish nutrients and promotes strong root growth. Always water your lawn well after fertilising to prevent burning.
9. Mowing Wet Grass
It’s tempting to mow right after a rainfall, but doing so can cause more harm than good. Wet grass bends instead of cutting cleanly, resulting in uneven mowing and bruised blades that later turn brown.
Pro tip
Wait until your lawn is dry to the touch before mowing. This not only prevents browning but also reduces the risk of spreading disease and keeps your mower in better condition.
10. Soil Compaction
If your lawn is still turning brown despite proper care, compacted soil may be to blame. Heavy foot traffic, especially during the wet months, can squeeze out air pockets in the soil. This restricts root growth and reduces the grass’s ability to absorb water and nutrients.
Solution
Aerate your lawn once or twice a year — ideally in spring and autumn — using a garden fork or mechanical aerator. This helps loosen the soil, improve drainage, and encourage deeper root development.
Frequently Asked Questions
1. Will my brown lawn turn green again?
Yes — most brown lawns can recover with proper care. Regular watering, fertilising, and avoiding over-mowing usually restore the green colour within a few weeks.
2. Should I water my lawn right after mowing?
If the soil is dry, light watering after mowing can help the grass recover. However, avoid overwatering or watering at night to prevent fungal issues.
3. Can mowing height really affect lawn colour?
Absolutely. Cutting your grass too short is one of the fastest ways to stress it out. Keeping your mower set to the right height promotes stronger, greener growth.
4. How can I tell if my lawn’s brown patches are from pests or mowing?
Check for other signs — like loose turf, bird activity, or visible insects under the soil. If there are none, the browning is likely due to mowing or environmental stress.
5. Is it normal for lawns to turn slightly brown in summer?
Yes. During hot, dry periods, some browning is natural as the grass goes dormant to conserve water. Proper watering and maintenance can help minimise this effect.
Final Thoughts
A brown lawn after mowing doesn’t mean your grass is dead — it’s a sign that your lawn needs a little more care and attention. From mowing height to watering habits and soil health, small adjustments can make a big difference in keeping your lawn lush and green all year round.
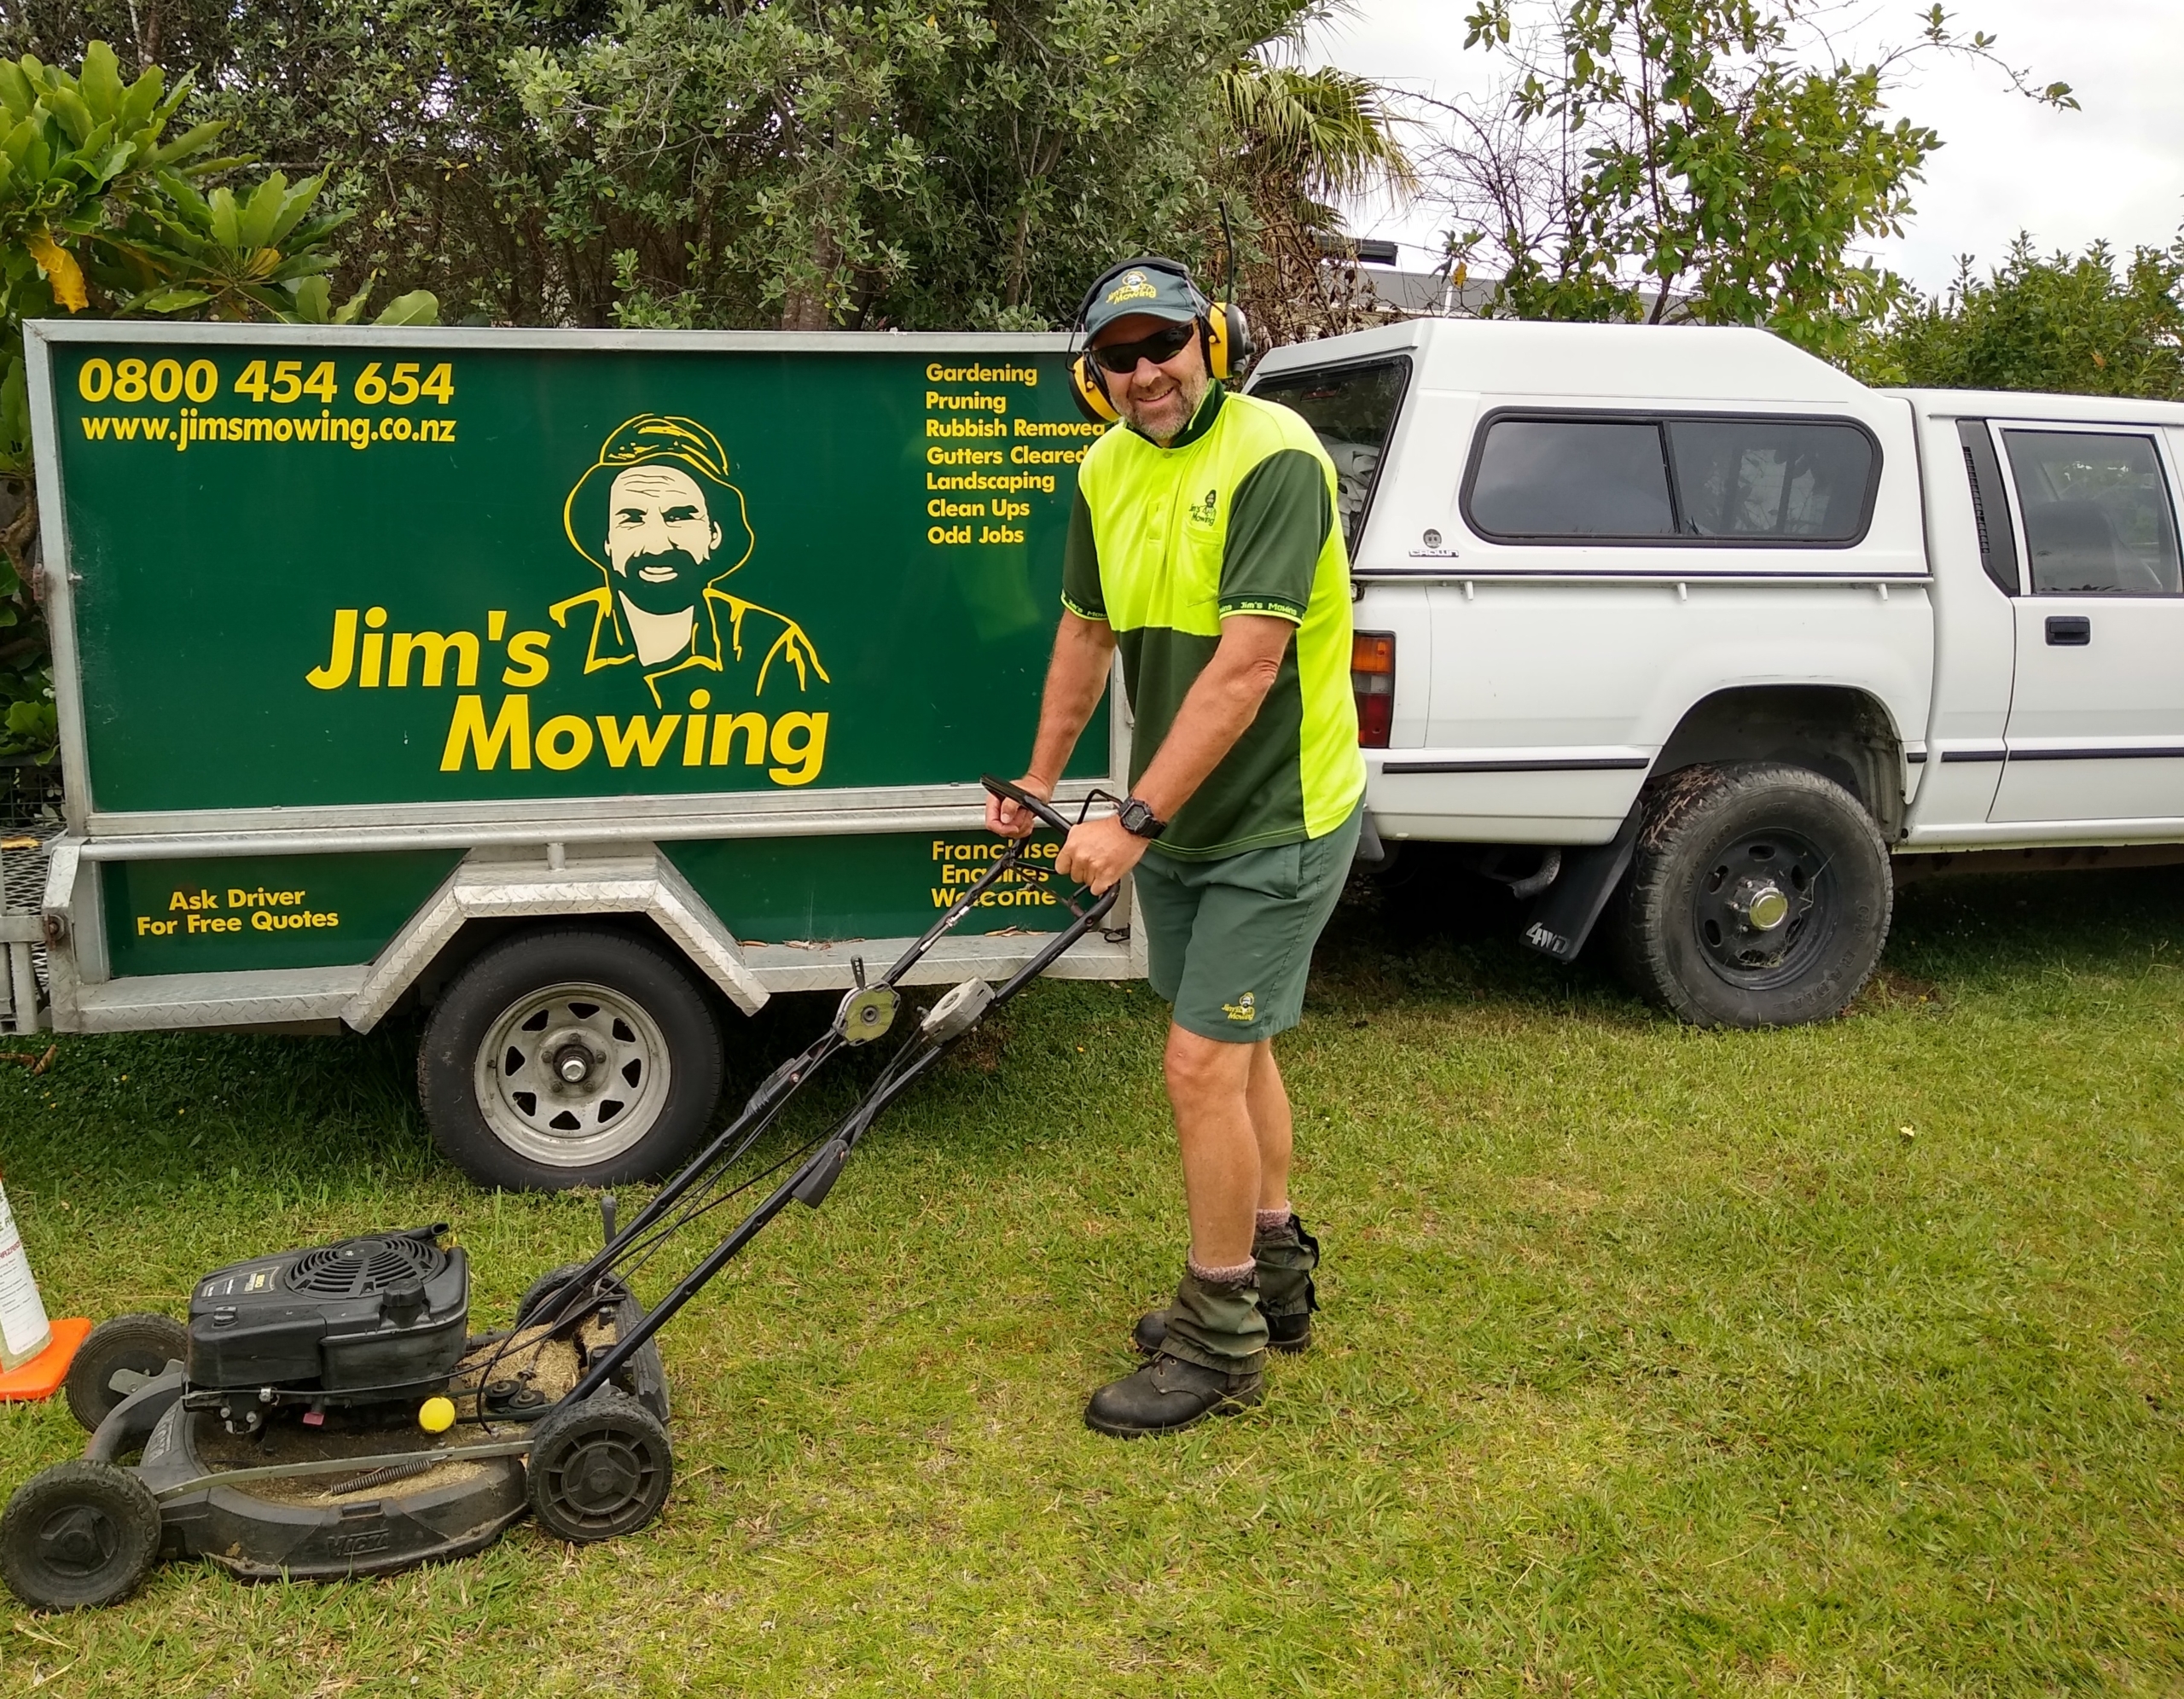
If you’re struggling to maintain your lawn or want professional help diagnosing the problem, Jim’s Mowing NZ is here to help. Our local experts provide reliable mowing, fertilising, and lawn care services across New Zealand — so you can sit back and enjoy a greener, healthier lawn.
Call us today at 0800 454 654 to book your lawn care service.


