How to Grow Potatoes
A Kiwi Gardener’s Guide to a Tasty Harvest
If you’ve ever wondered how to grow potatoes in your own backyard, you’re in luck. Potatoes are one of the easiest and most rewarding crops to grow in New Zealand’s climate. With a little planning, care, and patience, you can enjoy a steady supply of fresh, homegrown spuds—perfect for mashing, roasting, or frying.
In this Jim’s Mowing NZ blog, you’ll learn:
- Why grow potatoes
- What are the different potato varieties
- When and where to grow potatoes
- How to grow potatoes
- How to deal with common potato pests and diseases
Why Grow Potatoes?
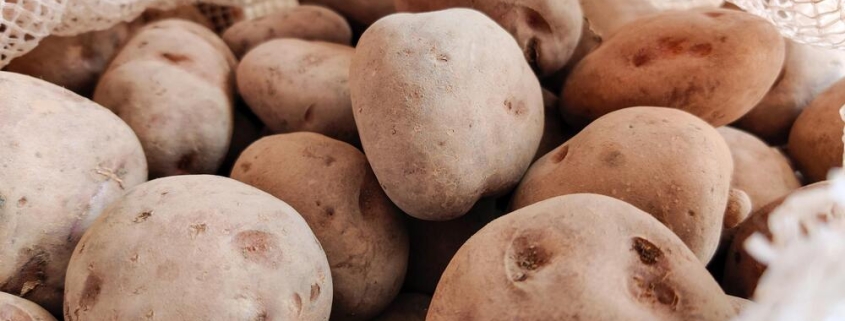
Potatoes are a staple in many Kiwi households. From hearty roasts to fish and chips, this humble crop has earned its place at the dinner table. Growing your own potatoes not only saves money but also ensures you’re eating the freshest produce possible—free from chemicals and packed with nutrients.
Potatoes are versatile and resilient, growing well in most regions of New Zealand. Whether you live in sunny Northland or cooler Otago, you can cultivate a good harvest with the right techniques.
Choosing the Right Potato Varieties
Before you start planting, it’s essential to choose the right potato varieties for your region and cooking preferences. In New Zealand, there are many types to choose from—each with unique textures, flavours, and ideal uses.
1. Agria
A popular all-rounder in New Zealand, Agria potatoes are perfect for roasting, mashing, and making chips. They have golden skin and a fluffy texture when cooked. Agria thrives in warmer regions but grows well throughout the country with proper care.
2. Ilam Hardy
Known for its versatility and early harvest, Ilam Hardy has white skin and a creamy interior. It’s resistant to common diseases and performs well in a variety of soils, making it a great choice for first-time growers.
3. Desiree
Desiree potatoes have smooth red skin and a firm yellow flesh that holds its shape during cooking. They’re excellent for salads and boiling, as they don’t easily fall apart. They also have a good resistance to drought and disease.
4. Rua
A Kiwi classic, Rua potatoes are great for baking and mashing. They grow best in cooler climates and are ideal for gardeners in the South Island. Rua tends to store well, making it a good option for long-term use.
5. Nadine
Nadine is a reliable variety with smooth white skin and a waxy texture. It’s perfect for boiling and salads, and it matures relatively quickly. Many gardeners choose Nadine for its high yield and consistent quality.
When choosing your seed potatoes, look for certified disease-free tubers. Avoid planting potatoes from the supermarket, as these are often treated with chemicals that prevent sprouting and may carry disease.
When to Plant Potatoes in New Zealand
Timing is everything. The best time to plant potatoes in New Zealand is from early August to November, depending on your region and climate.
- North Island – You can start planting as early as August.
- South Island – Wait until September or October when the risk of frost has passed.
Potatoes take between 90 to 120 days to mature, so plan your planting around when you’d like to harvest. Many Kiwi gardeners aim for a Christmas harvest, which means planting in late winter or early spring.
How to Grow Potatoes – Step-by-Step
Growing potatoes is straightforward, but they do need well-prepared soil and regular care to thrive.
1. Prepare the Soil
Potatoes prefer loose, well-draining soil that’s rich in organic matter. Avoid compacted or clay-heavy soil, as it can stunt tuber growth. Before planting, dig in compost or well-rotted manure to enrich the soil.
Aim for a slightly acidic pH (around 5.5–6.5), as this discourages scab—a common potato disease.
2. Chit the Seed Potatoes
About two weeks before planting, place your seed potatoes in a warm, sunny spot to sprout. This process, known as “chitting,” encourages strong early growth. When the shoots are about 2–3 cm long, they’re ready for planting.
3. Planting
Dig trenches about 10–15 cm deep and 60 cm apart. Place each seed potato with the sprouts facing upward, spaced about 30 cm apart. Cover them lightly with soil.
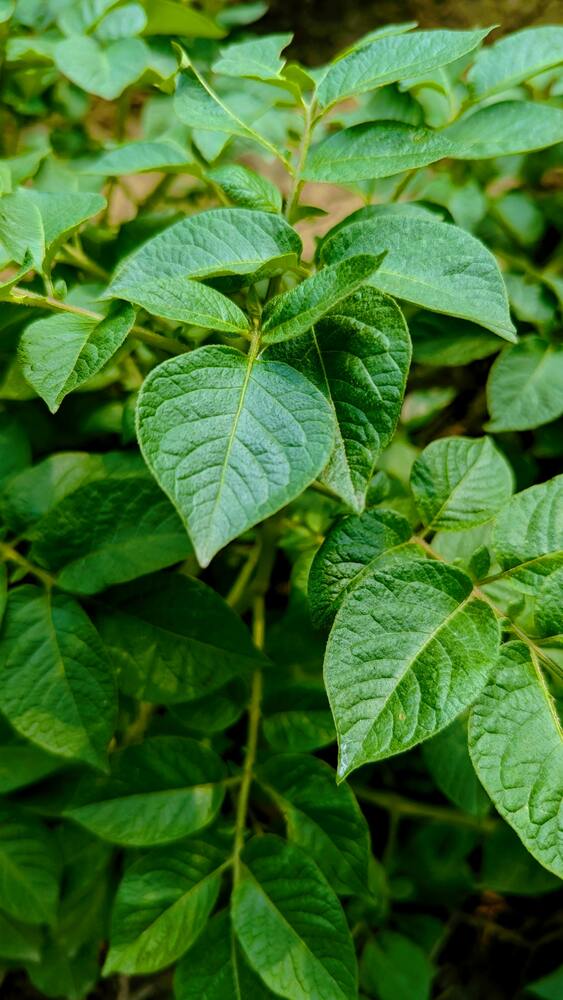
As the shoots grow, hill up the soil around the plants every few weeks to cover the lower stems. This prevents sunlight from reaching the developing potatoes (which can turn them green and toxic) and encourages a larger yield.
4. Watering and Feeding
Potatoes love consistent moisture, especially during flowering and tuber formation. Water deeply once or twice a week, depending on rainfall. Avoid waterlogging, as it can cause rot.
Feed with a low-nitrogen fertilizer or a product specifically formulated for root crops. Too much nitrogen leads to lush leaves but fewer tubers.
5. Harvesting
Early varieties can be harvested after 10–12 weeks, while main crops take up to 4 months. Once the foliage starts to yellow and die back, your potatoes are ready. Gently dig them up with a fork, taking care not to pierce the tubers.
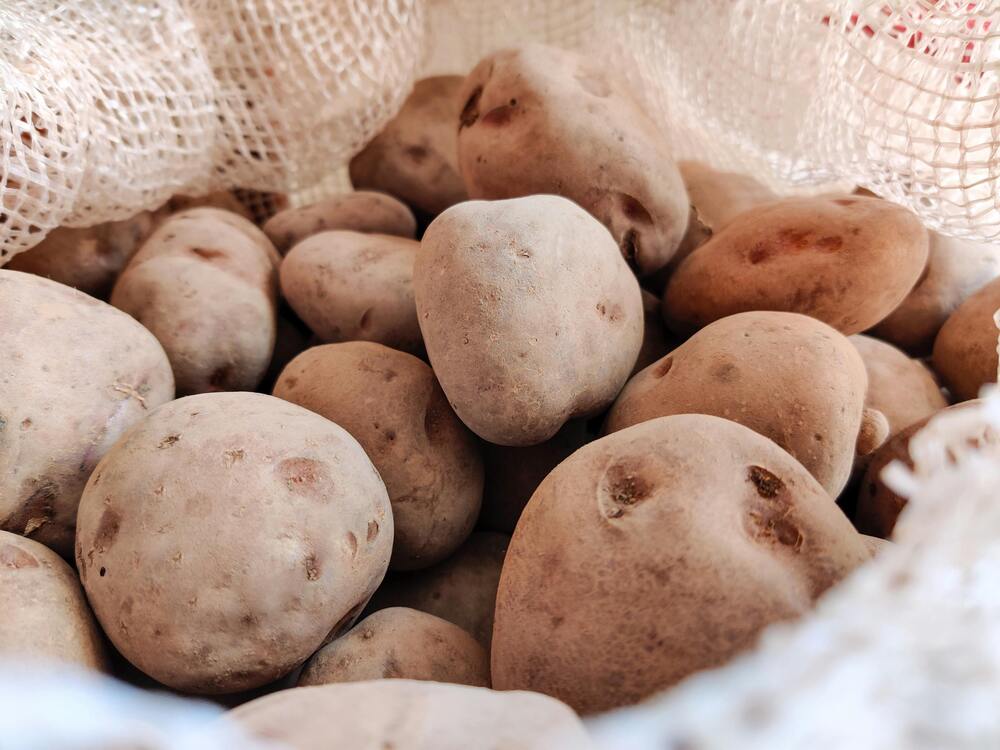
After harvesting, let them dry in a cool, shaded spot before storing in a dark, well-ventilated place.
Dealing with Common Pests and Diseases
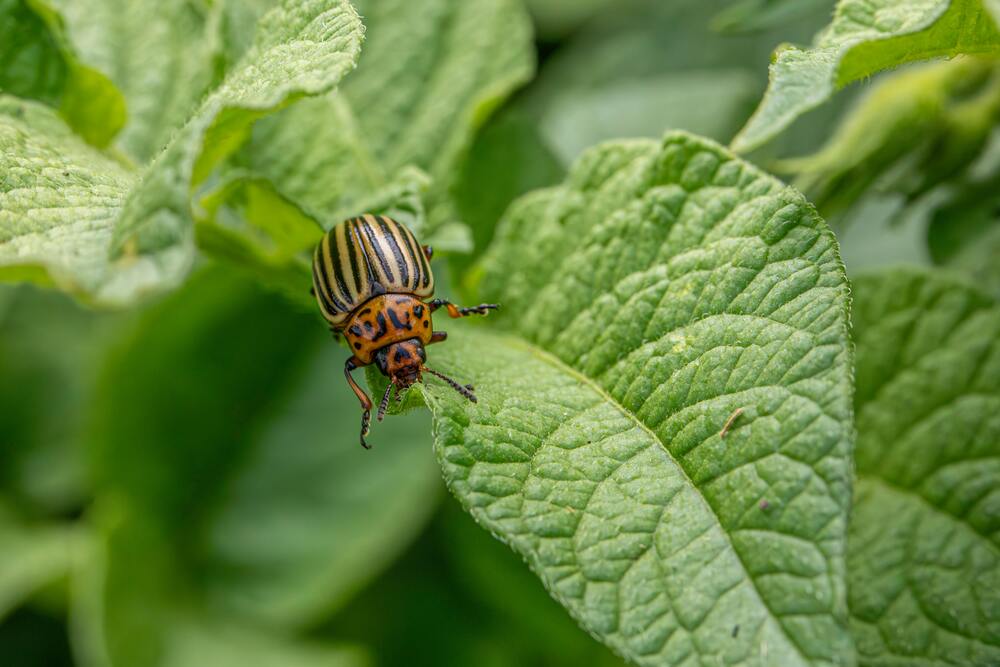
Even the hardiest potatoes can fall victim to pests and diseases. Here’s how to spot and stop the most common culprits in New Zealand gardens:
1. Potato Psyllid
This tiny insect can devastate crops by transmitting a bacterial disease that causes yellowing leaves and misshapen tubers.
Solution: Cover plants with fine mesh or use insect netting. Apply neem oil or pyrethrum sprays if infestations occur.
2. Aphids
Aphids suck the sap from potato leaves, causing them to curl and stunt growth.
Solution: Encourage beneficial insects like ladybirds, or use insecticidal soap sprays.
3. Wireworms
These larvae of click beetles burrow into tubers, leaving small holes.
Solution: Rotate crops annually and avoid planting potatoes in the same spot for more than two years. Trapping wireworms with pieces of potato buried in the soil before planting can help reduce numbers.
4. Potato Blight
This fungal disease thrives in warm, humid weather and causes dark spots on leaves and stems.
Solution: Water early in the day to keep foliage dry and ensure good air circulation. Remove and destroy infected plants immediately.
5. Scab
Caused by a soil-borne bacteria, scab creates rough patches on potato skins.
Solution: Maintain slightly acidic soil (avoid lime) and water regularly during dry spells.
Tips for a Better Potato Harvest

- Rotate your crops each year to prevent disease build-up.
- Avoid over-fertilizing with nitrogen-rich products.
- Mulch around the plants to retain moisture and suppress weeds.
- Harvest on a dry day to prevent dampness from spoiling stored potatoes.
Conclusion
Learning how to grow potatoes at home is a rewarding experience that connects you with the land and rewards you with fresh, tasty spuds. With New Zealand’s mild climate and fertile soils, there’s no better place to start your own potato patch.
If you’d like a hand preparing your garden, managing pests, or keeping your lawn and plants in top condition, Jim’s Mowing NZ is here to help. Our gardening services will assist with planting, soil preparation, and ongoing garden maintenance—so you can sit back and enjoy the harvest.
Call us at 0800 454 654 or to book your gardening service today!